

BRICK+AID
Repair Compound for Brick Tile BRICK+AID (CAN’BRICK repair kit)(BRICK+AID)
BRICK+AID is a repair kit made specifically for CAN’BRICK brick tile. Simply brush it on to blend in cracks, screw holes, and similar damage that appears after installation. It stays slightly flexible, which helps keep cracks from reopening.
Recommended Joint Width and Estimated Usage
Ancillary Materials
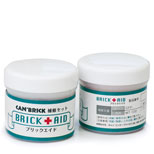
BA-M-B
BRICK+AID M Package, Standard Colors, repairs approx. 5m at 20mm width
- Joint Color
- Joint Finish
- Joint Pattern
●M package
Volume: 200g
Coverage: approx. 5m of repair at 20mm width
* When ordering, please specify the joint color as well as the CAN’BRICK product code used at the site.
Installation guide
0. What you will need
BRICK AID
A plastic spatula or similar tool
Plastic sheeting for masking
Masking tape
1. Preparation
Clean the area to be repaired thoroughly and let it dry. Mask window frames and similar surfaces with plastic sheeting so that the compound does not get on them. Using the color chart (shown in the figure), prepare the BRICK AID colors you need. ■ POINT Marking the spots to be repaired with paper adhesive tape makes the work easier.
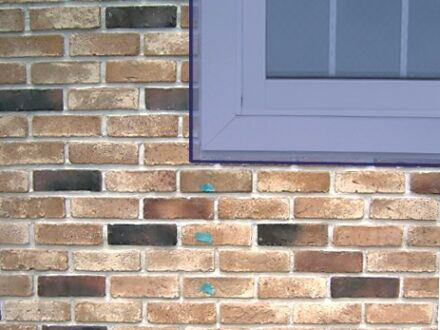
2. Repairing the brick tile
[ Base coat ]
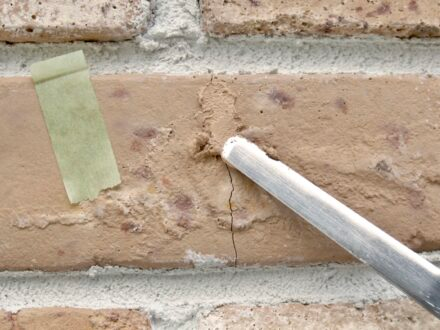
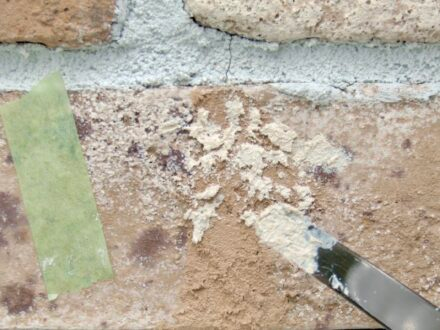
Apply BRICK AID base color [A] across the whole repair area, working it into cracks and screw holes.
■ Note
Right after application, BRICK AID itself can look whitish (image1), but once it dries, after all the work is finished, it matches the color of the brick. Do not wait for the base coat to dry; move straight on to the next step, [ shading ].
[ Shading ]
Referring to the color chart and the surrounding brick pieces, apply shading colors [B] to [D] to match the pattern (image2)
■ POINT
Aim for a thickness of about 1mm. (Too thick and it takes a long time to dry.)
■ POINT
If a shade cannot be matched with a single color, mix base color [A] with shading colors [B] to [D] to adjust the tone.
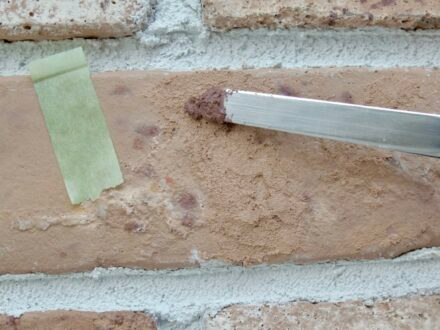
Applying it roughly gives a more natural finish.
(image3)
3. Repairing the joints
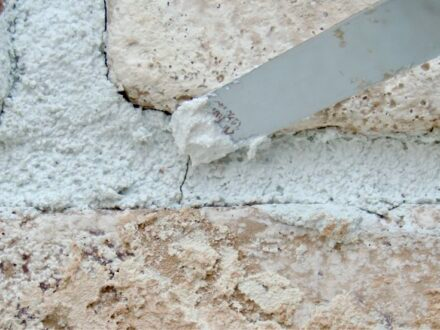
Choose the matching joint color from the BRICK AID set and apply it to the repair area. (image4)
■ POINT
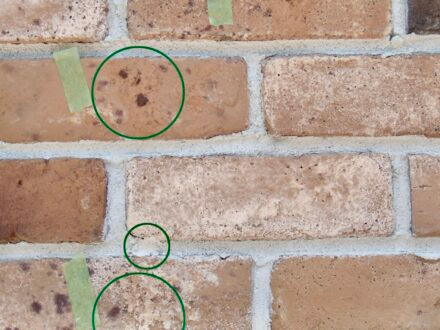
As a precaution, check the joints in the rows above and below for cracks as well.
Cracks sometimes run along the same vertical line.
4. Checking and inspection
Let the compound dry for at least 2 hours, then check the color of the repaired area. If the color still stands out, apply a little of the same BRICK AID around the repair to blend it into the surrounding surface.
Precaution
Important Notes
・The colors in this kit are a selected set drawn from the CAN’BRICK color range, so they may not match the color of the repair area exactly.
・Store out of direct sunlight, at 5~35°C.
・Do not carry out the work when the temperature is 5°C or below.
・Keep out of reach of small children.
・After application, keep the repair area dry until the compound has set.
・This product is water-based, but it becomes insoluble once dry. Wash tools with water before the compound dries on them.
・Use up the contents in a single session once the package is opened.
・Wear gloves while working and avoid direct contact with the compound. If contact does occur, give first aid as follows.
・If it gets in the eyes: rinse immediately with tap water for at least 15 minutes and see a doctor. If it gets on the skin: wash off with plenty of water and see a doctor if necessary.
・If you inhale it and feel unwell: move to fresh air at once and see a doctor if necessary.
・If swallowed: see a doctor immediately.
Other items
Sub Materials
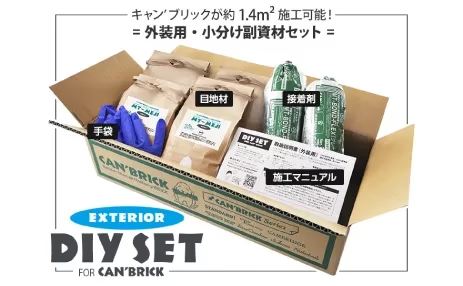
DIY Set for CAN'BRICK (Exterior Only)

DIY Set for CAN'BRICK (Interior Only)

Jointing Mortar for Interior and Exterior Use
MT-MEJI
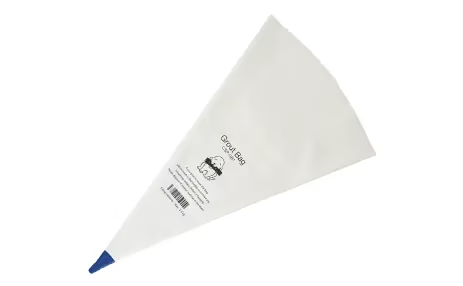
Jointing Mortar Bag
Grout Bag
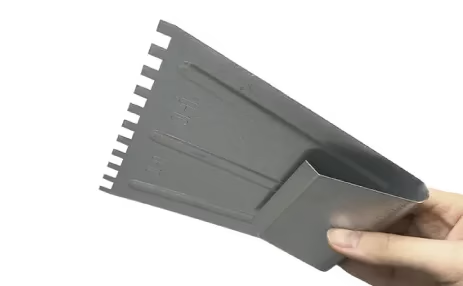
Notched Trowel 7mm
Kushime kote
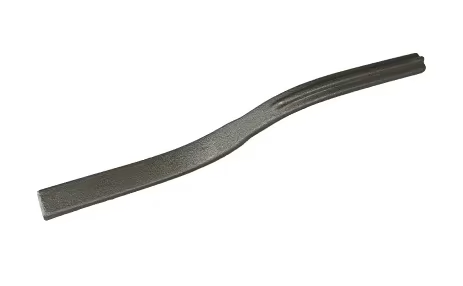
Jointer for Grapevine Joint Finishing
Grapevine Jointer
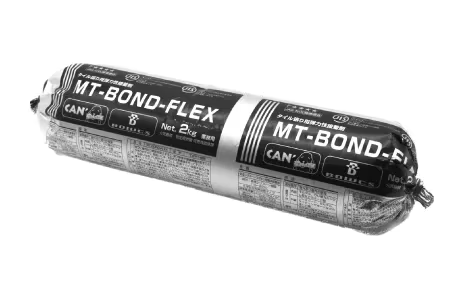
Flexible adhesive for interior and exterior tile
MT-BOND-FLEX
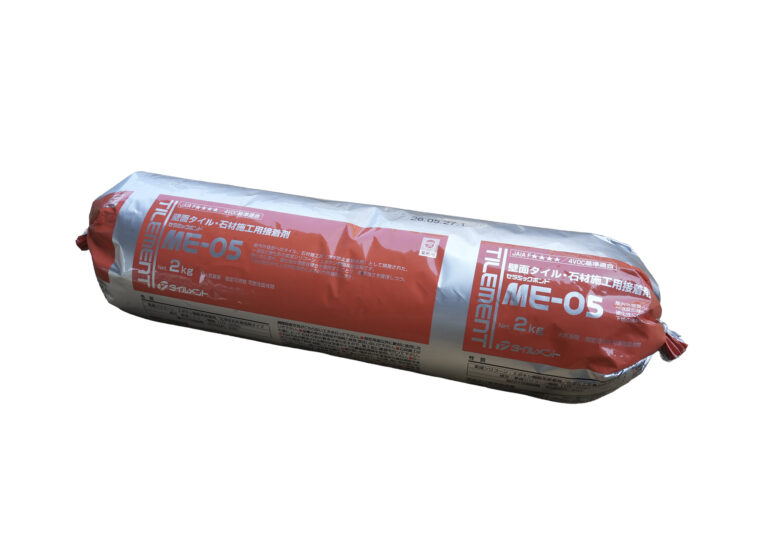
Adhesive for Interior and Exterior Manufactured Stone Veneer Wall Tile
ME-05
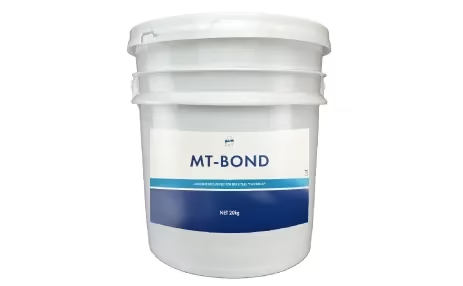
Adhesive for brick tile, interior use
MT-BOND
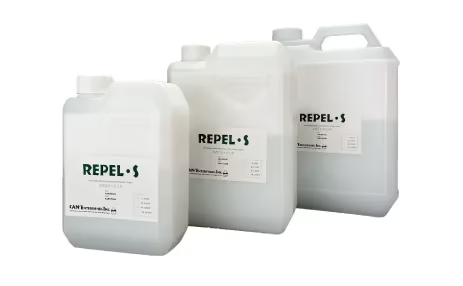
Repel S (penetrating water repellent)
REPEL・S
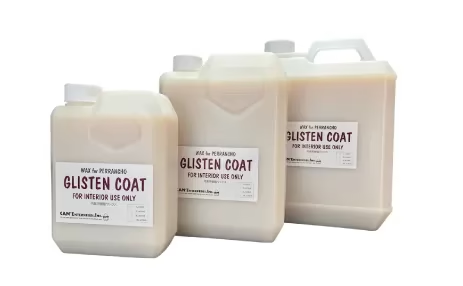
Glisten Coat (resin wax for interior use)
GLISTEN COAT
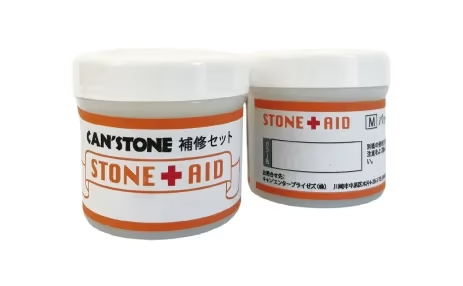
Stone Aid (CAN’STONE repair kit)
STONE+AID
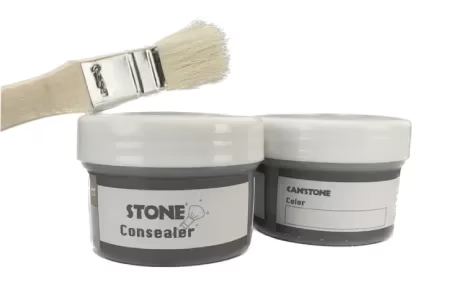
Stone Concealer (touch-up compound for CAN'STONE manufactured stone veneer)
STONE Concealer
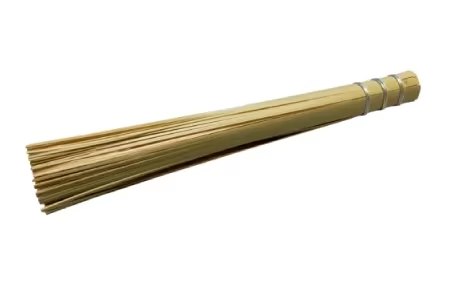
Sasara (joint finishing brush)
Sasara
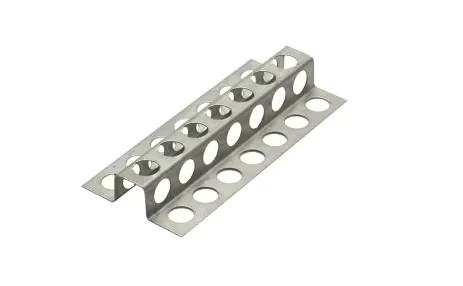
Brick Chain Fall Prevention Bracket
Brick Chain
CONTACT
General Inquiries